Autumn special offer CHECK - UPS With Our Associate dentist, Down from £98 to £55. Small X-rays are included if needed.
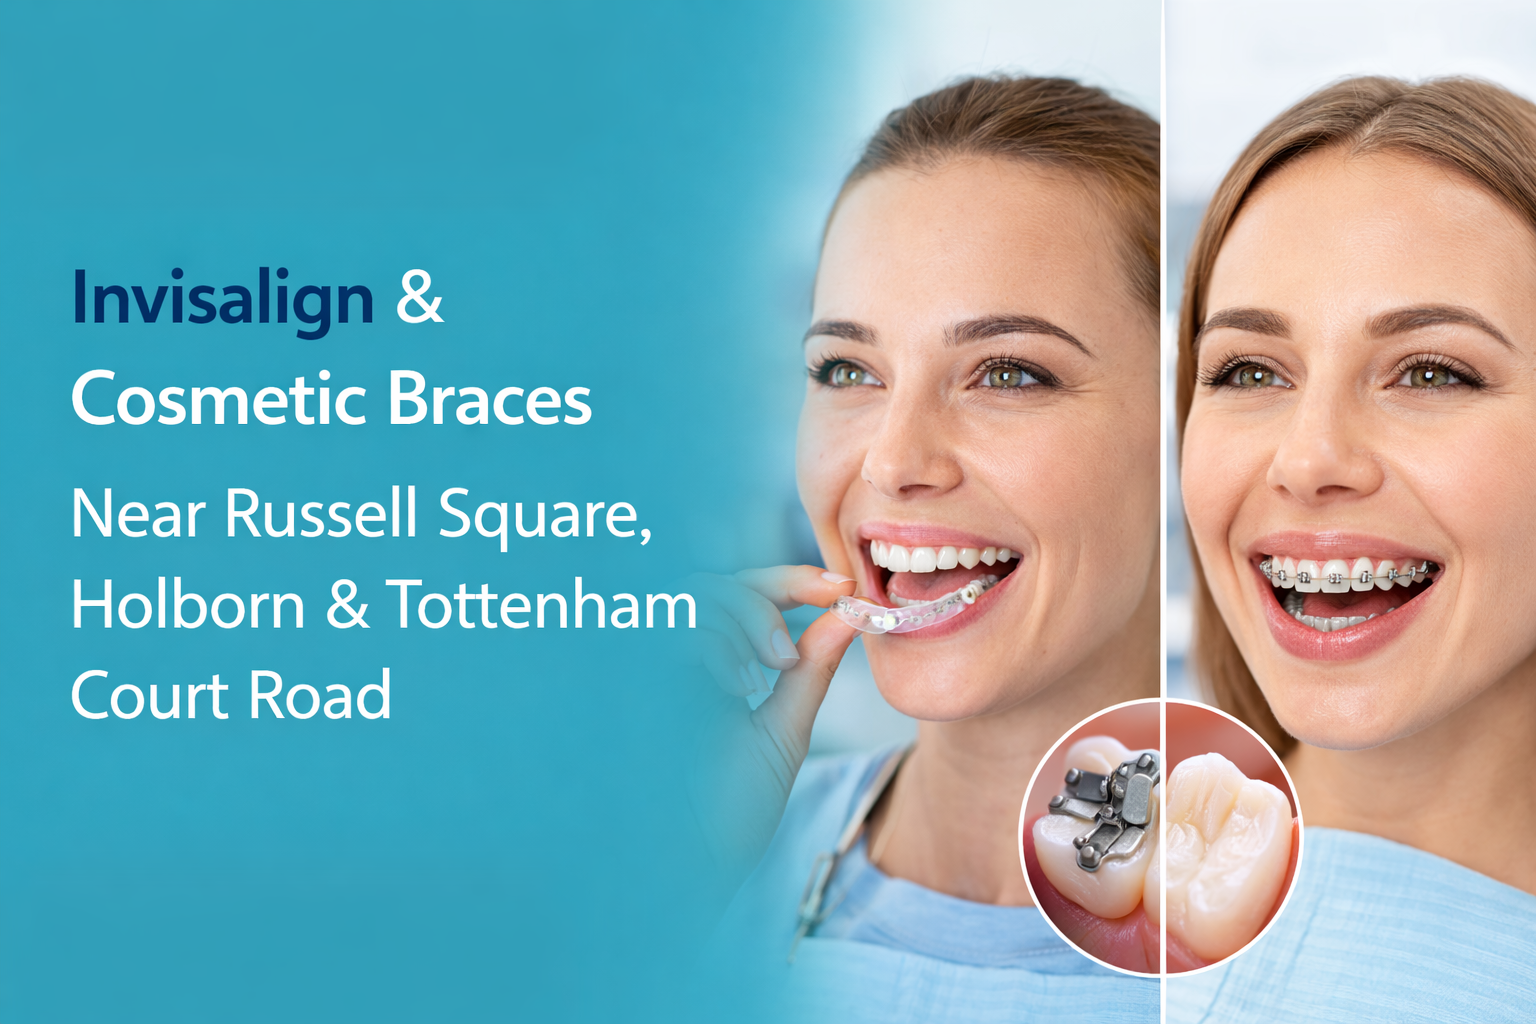
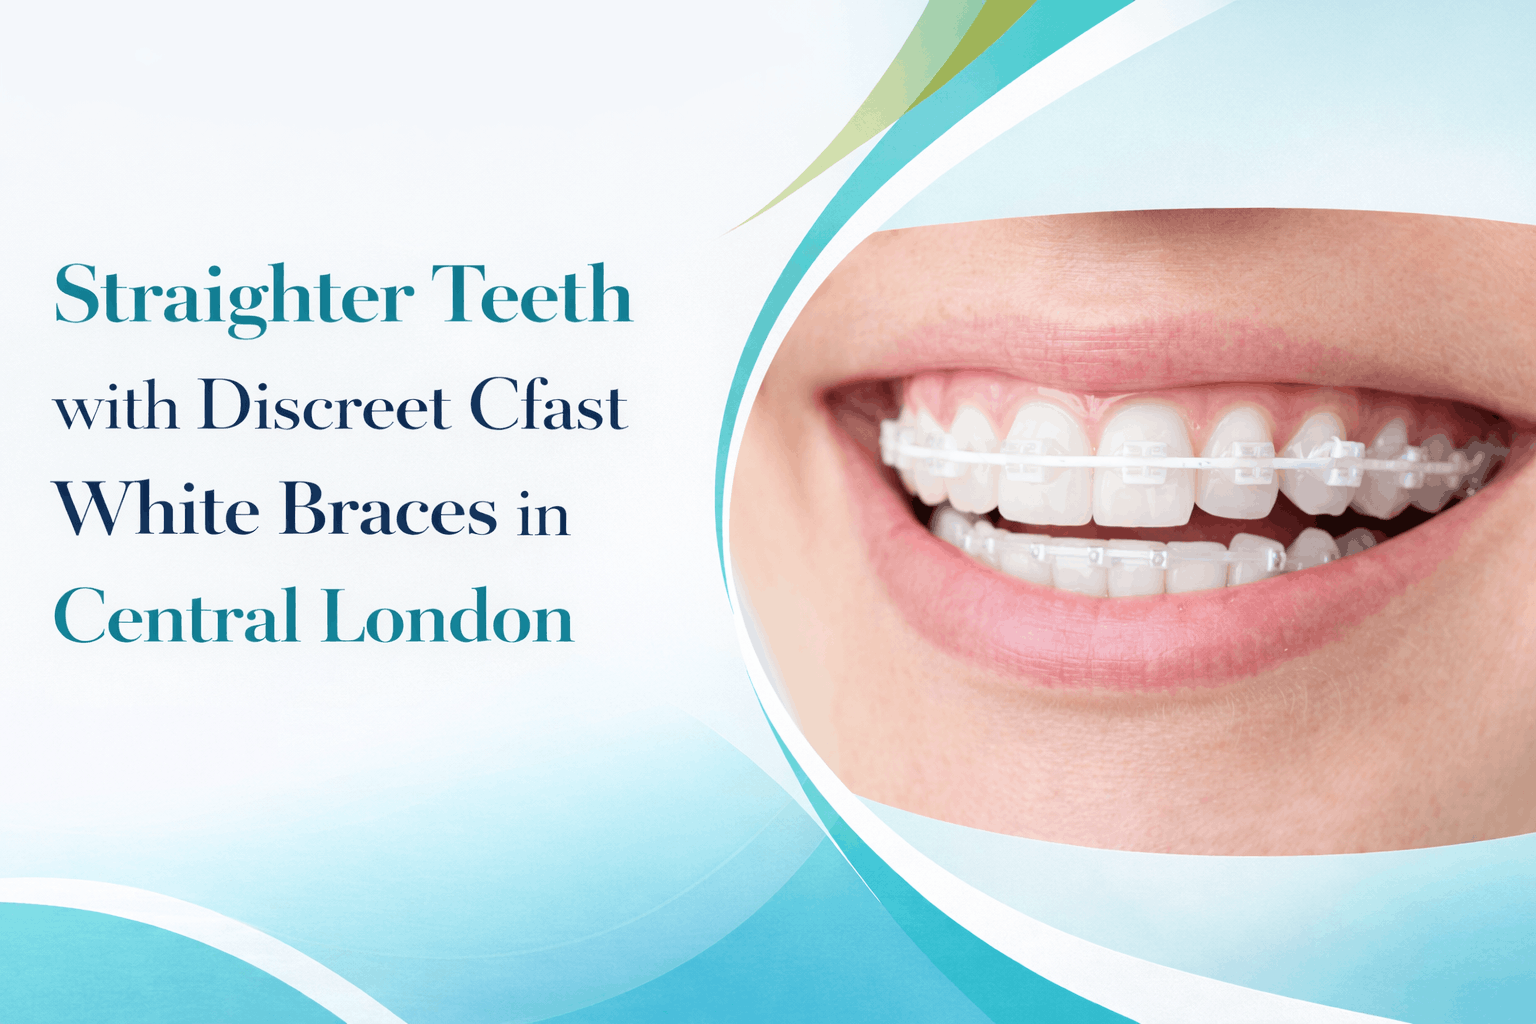
Invisalign is a great way to straighten your crooked or misaligned teeth and treat the problem of underbites, overbites, crossbites, gaps and more. The method consists of a series of aligners or “trays” so that each teeth move to their desired position before swapping out for a new one. Like the braces, Invsalign braces are comfortable, almost invisible and easy to remove. There arises an important question, How will Invisalign procedure work? Here is a step by step guide to your Invisalign journey from the beginning to the end.
The point of consultation is to know whether you are the suitable candidate for Invisalign and answer any queries you may have about the process. Though it can resolve various dental problems, Invisalign cannot be done for kids or youngsters who have baby teeth or have still-growing adult teeth.
We will be taking your teeth impressions and bite registration to collect data on your teeth condition. We use iTero Element 2 intraoral digital scanner for clicking 3 images of the mouth within a few moments. After this, we manipulate the image to provide you with a detailed view of how we can expect your teeth to appear after the Invisalign method. The iTero method can be prepared by Invisalign makers and patients scanned with iTero will experience seven times fewer issues with the fitin comparison to other patients.
When drafting a dental plan, you need to know whether you are the right candidate for Invisalign treatment. Our dentist will advise you about possible options and explain the reasons for undergoing the treatment. Some issues might arise during the treatment process and the dentist will do his best to prepare you from solving it. Sometimes, dental aligners are not sufficient to shift teeth to their desired position and so, buttons or attachments have to be added. These tooth-coloured pieces made of composite can be bonded to certain teeth so that aligners stay properly and help with teeth straightening process. They may not be needed for the entire Invisalign procedure and can be removed easily.
With the help of iTero software, we will be sending your imaging results to the Invisalign labs where the technicians prepare your custom aligners from BPA-free plastic. Sending the results electronically has lessened the process significantly and it generally requires near about four weeks for the aligners to arrive at our dental clinic.
Once the clear aligners are ready, you will come to pick them up. The dentist will give necessary information on what to expect and how to care for the trays, such as you need to wear each tray for at least two weeks. This is applicable for 22 hours in a day which means you can take them out at the time of brushing, flossing, eating and drinking. Otherwise, you may get behind on the adjustments and the succeeding trays will not fit properly. Make sure you follow the guidelines of our Invisalign treatment to ensure the treatment can be done effectively and quickly. You need to lessen the intake of tea or coffee as these may cause stain to the aligners when you drink with them. It is important to take out the aligners when drinking as these can cost significant time for straightening. Know what you can and cannot eat and drink at the time of performing Invisalign procedure.
If you have a straightforward dental plan, you will be able to take out the trays and put them back again. But if you need attachments, you will have to install them this time. If you require bands, the dentist will assist you in putting them in.
If you want to know everything is coming along nicely with the alignment, you will have to visit the dental office once every month. This will help you to assess the progress of your teeth and address any questions or issues you might have. It may be essential to perform interproximal reduction during one or more dental visits. This is a simple method with a drill or file to eliminate tiny enamel shavings in between the teeth to provide space and shift into alignment. You might feel slight heat or some vibrations from the drill though it should not experience any pain.
It is quite common for patients to need refinement trays for detecting specific teeth which are not perfect after the initial treatment. For this, we need to repeat the scanning and impression session and order new trays from Invisalign treatment.
After you are done with the trays, the final step in Invisalign process is to shift to the retainers. Retainers are somewhat similar to aligners as they are removable though it is a suitable option for the permanent retaining bar along with inside part of lower front teeth. Retainers can prevent teeth from getting out of alignment in due course for biting and chewing. We will ask you to wear the retainer full time for the first couple of months and get your teeth straightened.
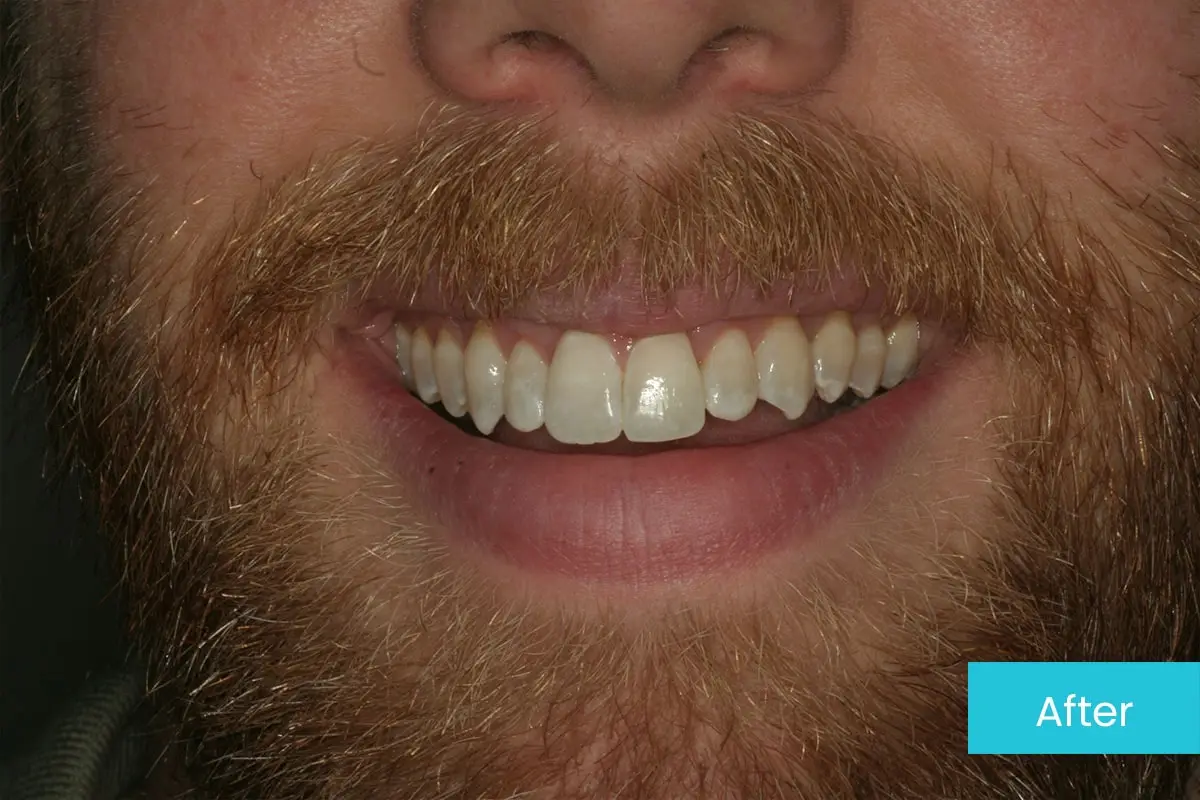
The final step is to show the world you have beautiful and straight teeth. Your Invisalign provider will help you to attain the confident look you always wanted to wear on your face.
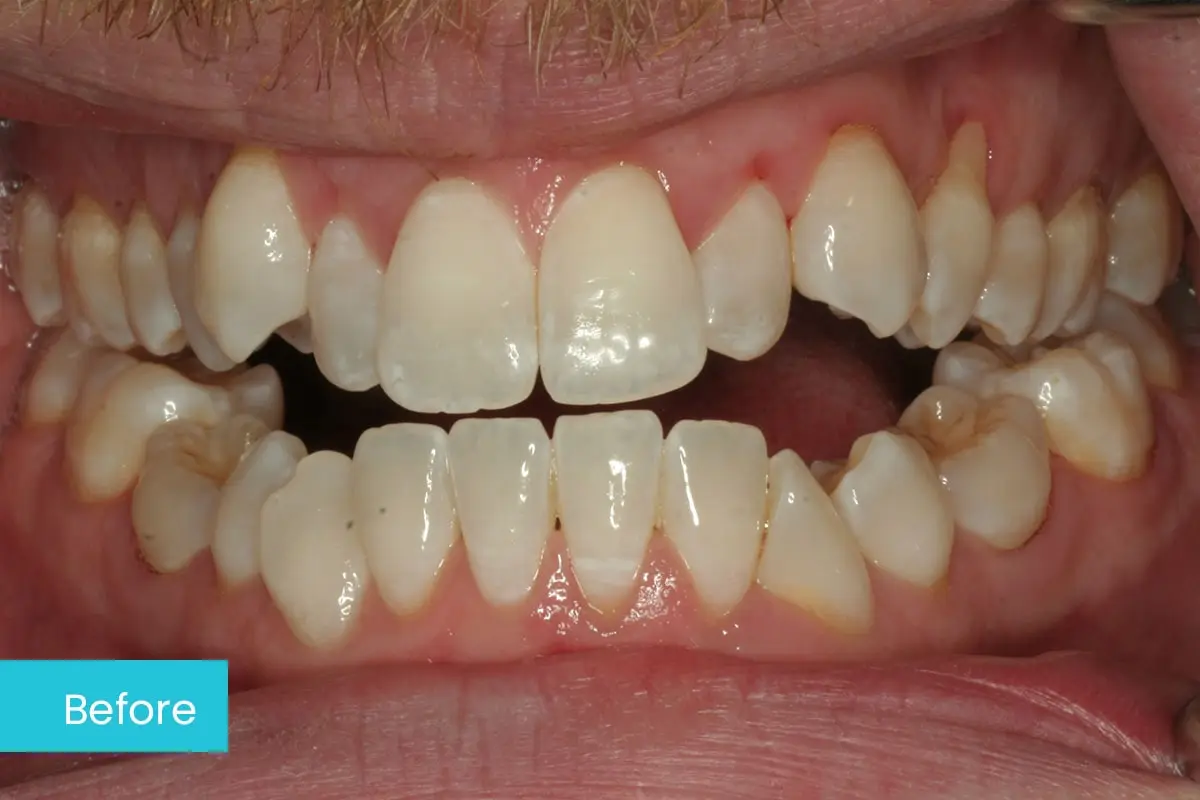
Thus, if you are having crooked teeth and want to get them straightened, see an Invisalign provider who can help to correct and solve the issue. You will have to visit the clinic and find out if you are the right candidate for the treatment. If the provider says you can undergo the procedure, we ensure you will have straighter teeth and improved confidence soon. Feel free to book an Invisalign appointment with Museum Dental Suites and talk to the provider to know about the pros and cons of the procedure. We assure you will be able to regain your attractive smile by undergoing treatment from us.
Snoring vs sleep apnea
Mar 24,2026With Associate dentist only.
Dr Fabrizio Castellari, Dr Moshin Nathu, Dr Nayanthara Perera, Dr. Oliver Tomlinson. CHECK- UPS Down from £98 to £55Small X-rays are included if needed.
FREE Whitening consultation included.